Installation Instructions
Because the adhesive is strongest when it's new, it's important to get placement right.Follow these simple steps to ensure a flawless installations.
1
/
of
3

Step One
- Make sure area is dry and free of debris.
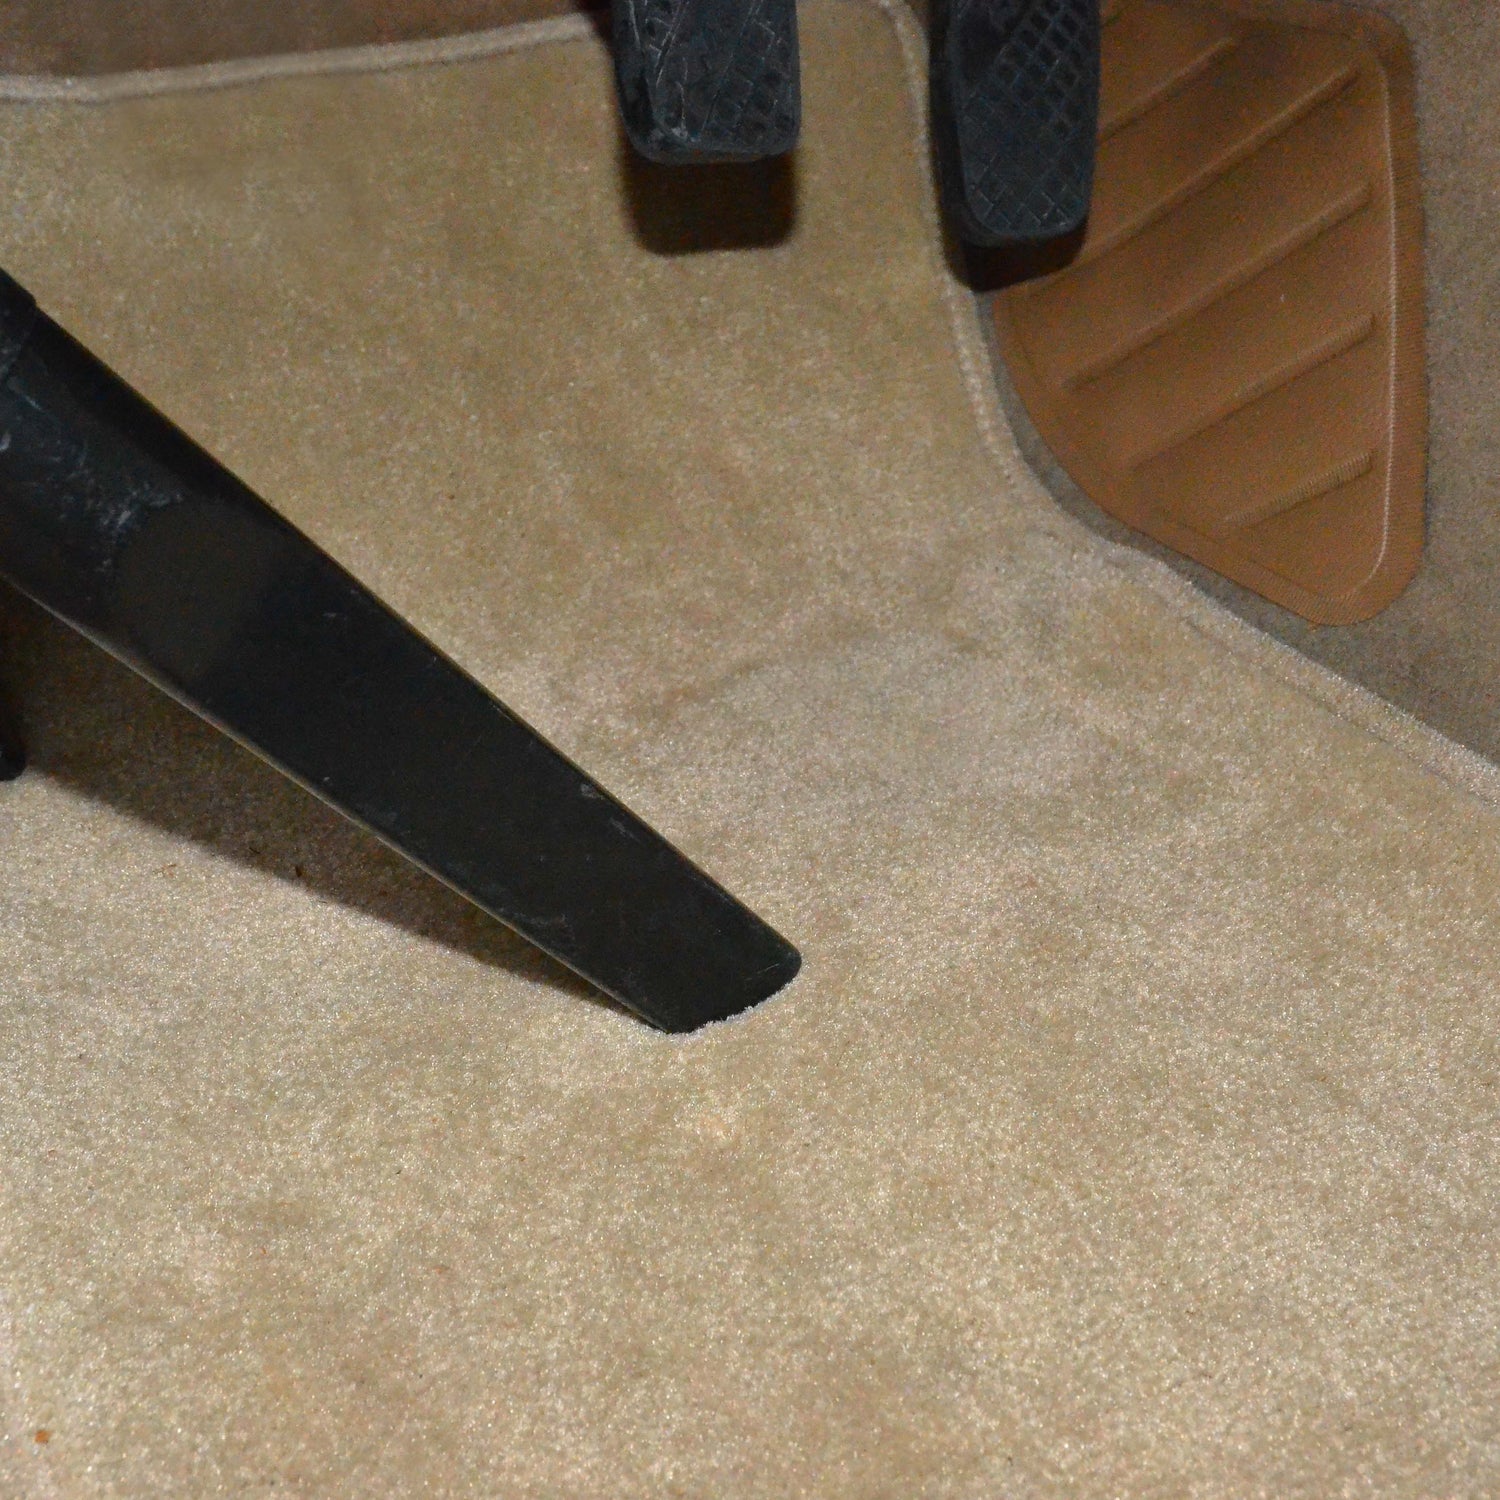
- Vacuum the mat if you can. If not, shake out the mat outside the car. Loose debris could block adhesive contact to the carpet fibers.
- Recommended install temperature is above 50 degrees Fahrenheit. MatRx will stay sticky between -200 F and 212 F, so don't worry. This recommended temperature range only applies to the install.
- The included adhesive is strongest when it's new. Therefore, testing for fitment before removing the backing is important, as applying and removing many times will weaken the adhesive bond.

Step Two
- If your mat is already damaged, center the MatRx over the damaged area. The damaged area indicates where your heel rests.
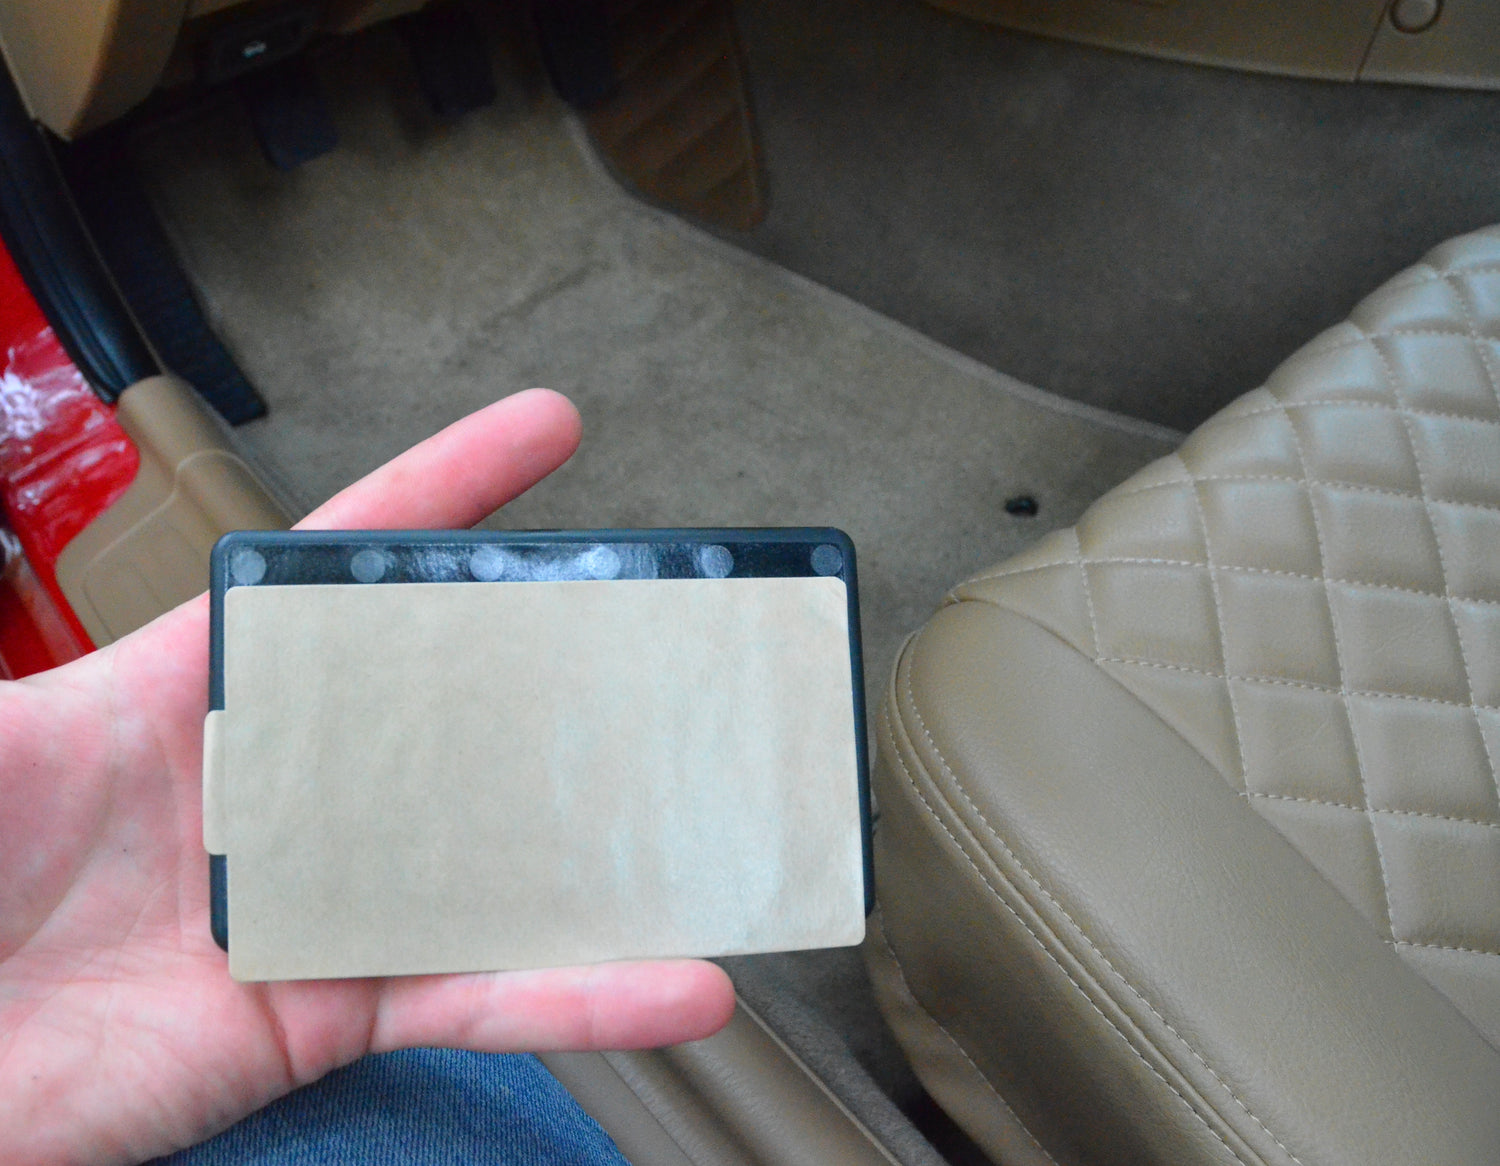
- If you have new mats, remove the backing and put it on again exposing a sliver of adhesive. This will hold MatRx in place while you test placement without using full adhesion. Test by pivoting your foot in your normal driving position and adjust as normal. If fitment is correct, you should not feel the product at all beneath your heel.

Step 3
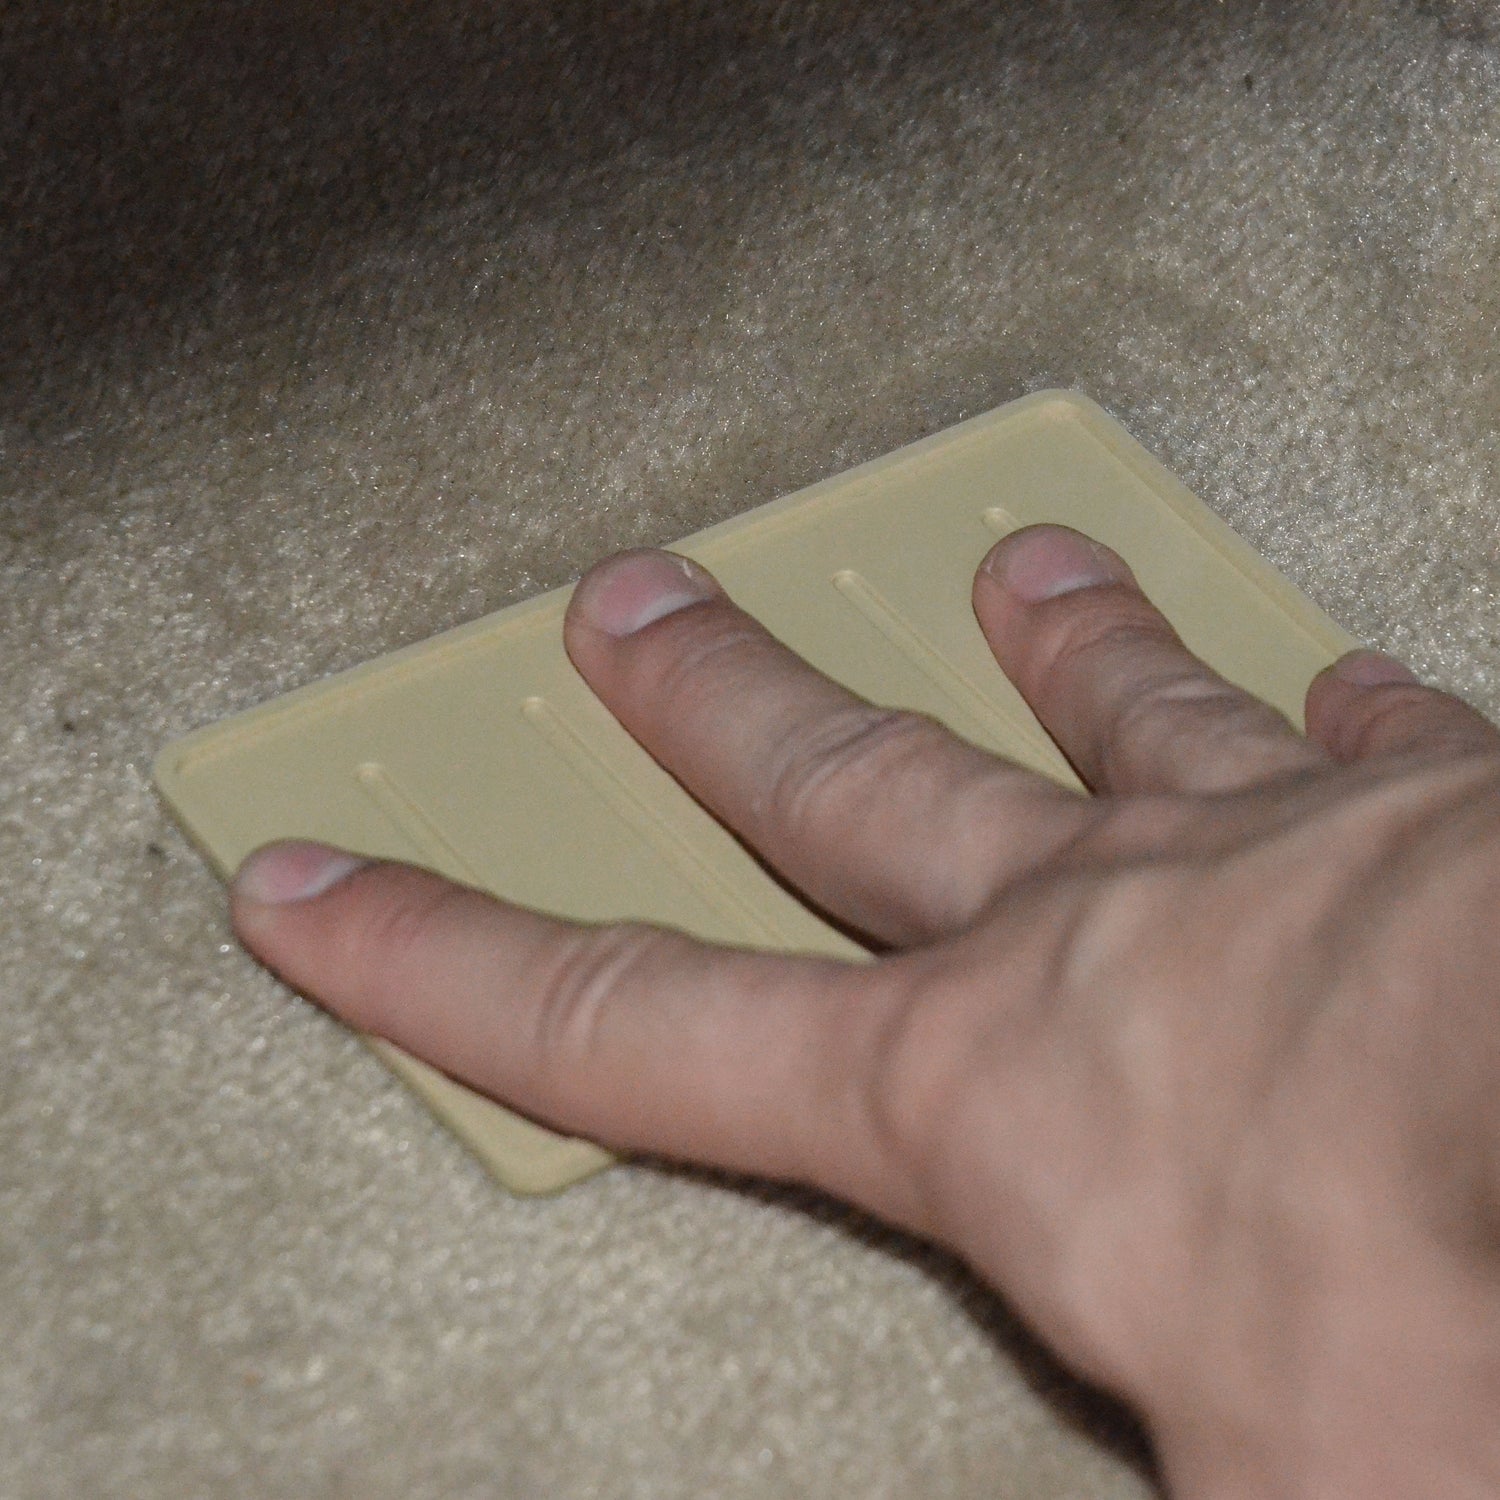
- Once sure of proper placement, remove the backing and press down firmly for 15 seconds.
- Full adhesive strength will be reached in 24 hours. However, after 1 hour you can drive on MatRx without it moving.
- Enjoy the peace of mind knowing your mat is protected!
